

I've had this tutorial in draft form for over a week now! I've got a few variations that I wanted to add, but I think I'll share them in a separate post.
In an effort to whip out some fast and functional back to school clothes, I came up with this sweet tunic dress. It's super easy, so grab your supplies and let's get started.
You'll need:
a shirt that fits
craft paper for making your pattern
cotton jersey fabric
1/4 inch elastic
amounts will vary depending on what size you're making

Lay your shirt on your paper and trace all the way around.

Add your preferred length and angle the sides out a few inches. Add whatever seam allowance you prefer to all sides, then cut out your pattern. Fold it in half to make sure that it's symmetric.

Cut the pattern in half to make a front and back pattern. On the pattern piece you want to use for the front, drop the neck an inch or so.

Cut one front piece and one back piece, with the pattern on the fabric fold.
With right sides together, sew one shoulder seam.

Since jersey knits often roll and can be a little tricky, I'm going to show you a trick. There's a wonderful product called Steam-A-Seam. It's basically a double sided tape that you can use on fabric. It's sticky on both sides and you can choose to permanently fuse it or not.

So, to finish the neck, cut a strip of fabric that is 1.5 inches wide. The strip should be an inch or so shorter than the length of the entire neck, front and back.

Notice how the fabric wants to curl.

On the wrong side of the neckband, apply the Steam-A-Seam. Don't iron it, just stick it.

Remove the paper backing.

Fold the neckband in half, with wrong sides together. The beauty of this is that if you don't fold it perfectly, you can unstick it and redo it. Once you have it folded nicely, lightly iron it.

With the raw edge of the neckband aligned with the raw edge of the neck sew the neckband in place, gently stretching it as you go.

Press the neckband and sew the other shoulder seam.

Hem both sleeves.

Sew both side seams.

On the inside, measure down about 3.5 inches from the sleeve.

Draw a straight line across the front and back.

Mark the center of the front and back. As a side note, I use this pen. The line disappears with heat.

Cut a piece of elastic that is about 2 inches shorter than the total width of the dress front and back.

Sew the ends of the elastic together to make a loop and mark the elastic in quarters.

Pin the elastic to the dress matching the quarter markings to the side seams and center markings on the dress.

Using a long zig-zag stitch, sew the elastic to the dress, gently stretching the elastic as you sew. You don't want to stretch the fabric, just stretch the elastic so it is flat on the fabric.

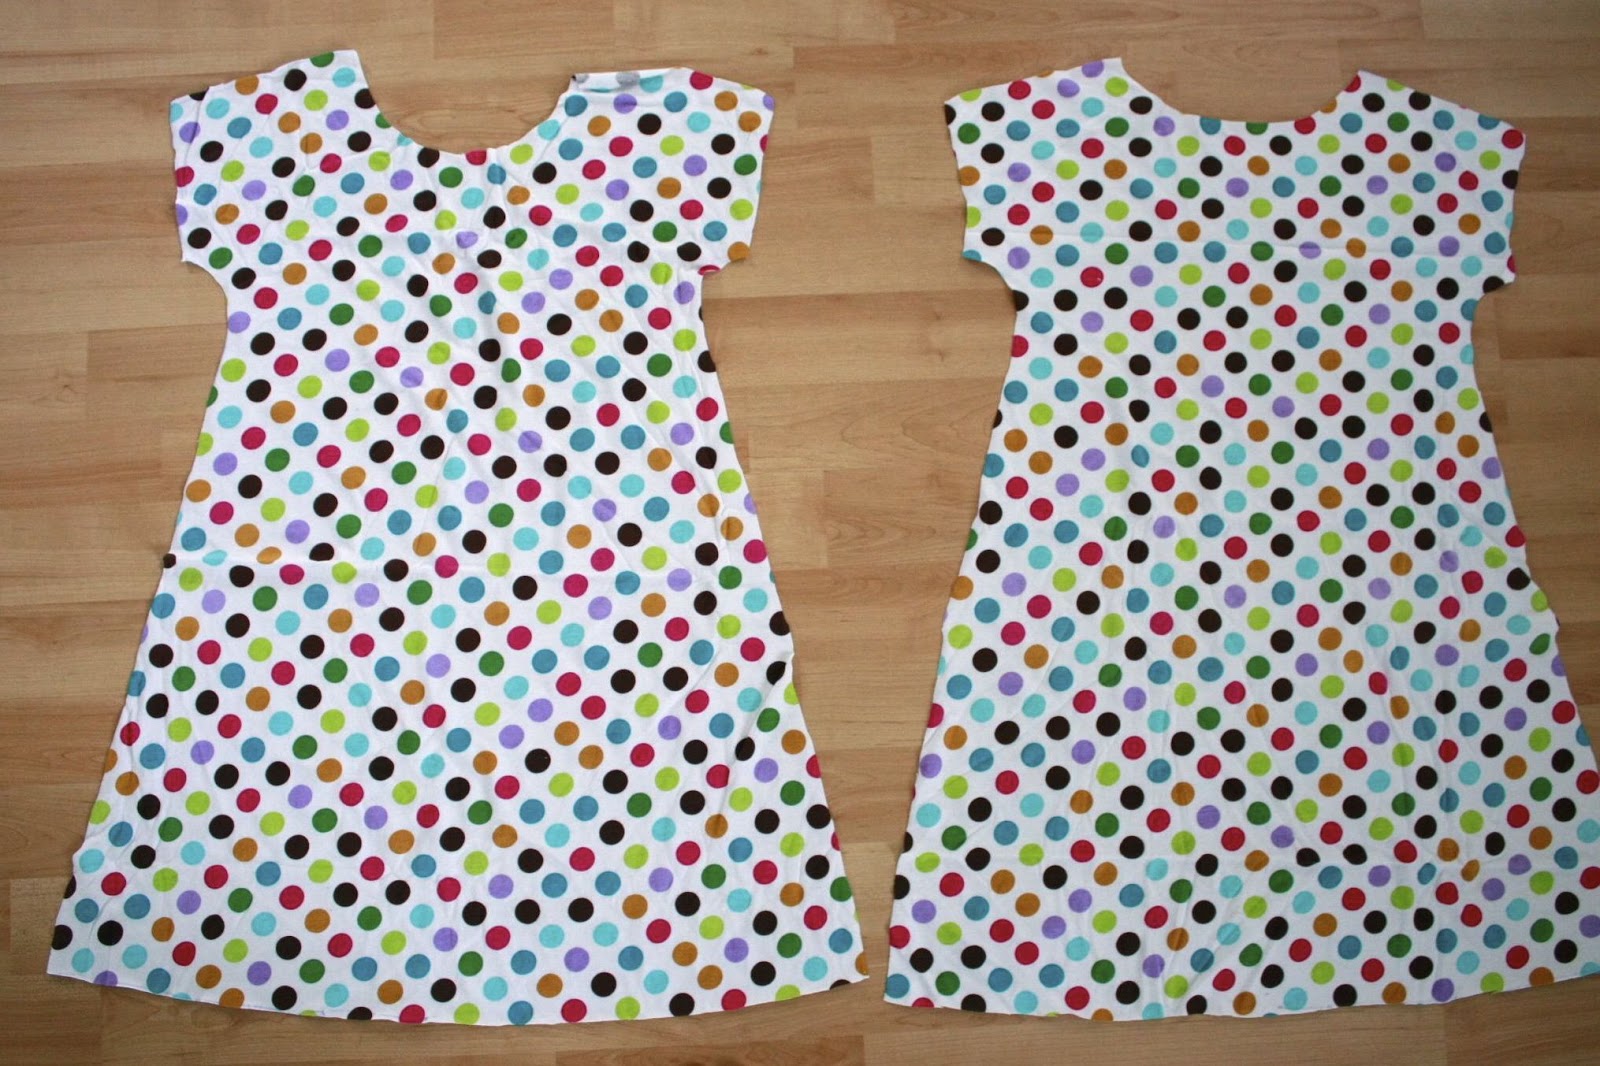
You should end up with a nice gathered waist. Hem your dress and you're done! My dress took me less than an hour from start to finish and taking pictures along the way.

The dress is really easy to wear, light and breezy.

Paired with leggings and a cardigan it transitions to fall really well.
Like I said at the beginning, I've got a few little variations that I'll share in separate post soon.
Happy almost long weekend!
Thanks awesome! Thanks for the tutorial!
ReplyDeleteGreat tutorial, Thanks!!
ReplyDeleteHow adorable! Thank you!
ReplyDeleteSo cute and looks so simple :)
ReplyDeleteSuper . Je vais rallonger les manches pour en faire des longues, hiver oblige.Très bon tuto,merci
ReplyDeleteThank you so much for showing us how to make and sew this dress!
ReplyDeleteMery Christmas !
Love this. Quick n Easy. Nicely done.
ReplyDeleteWonderful tutorial...can't wait to make several of these! Thanks!!
ReplyDeleteIve been wanting to make an item of clothing for a while now and thanks to your simple guide I now have. Thanks so much feel I can take on any challenge now
ReplyDeleteExplained so well. I love the look of the finished dress. My Grandaughers love dresses and this one doesn't impede their play.
ReplyDeleteThanks
Wonderful dress, where do you get the fabrics?
ReplyDeleteYou make it look so easy your step by step guide helps, thank you
ReplyDeleteI am totally amazed. I love the DIY creativity you have bottled up inside of you. Thanks to good people like you, others like me can learn very useful skills. I love this and will pull out a favorite little top and experiment. Thanks for all you do.
ReplyDeleteAmazing transformation. I just love the DIY creativity you have bottled up inside of you. Thanks to people like you, people like me can have some accomplishments under their belt. I can't wait to pull a favorite top out and make a new little tunic to wear. Thanks for all you do.
ReplyDeleteWhat a great idea! My daughter wants to live in knits with leggings. I don't want her out in shorter shirts that don't cover her behind. I think I'm going to make one of these in every knit Joann Fabrics has. Thanks for sharing.
ReplyDeleteI noticed you used a serger. I don't have one and wondered if this can be done by a regular sewing machine. What kind of stitch, etc.
ReplyDeleteFor me like beginner, this is ideal project. Thank you very much for sharing.
ReplyDeleteNeda
Love this! My granddaughter always wants to wear dresses and it's impossible to find cute ones at the store for a reasonable price.
ReplyDeleteI noticed the inside edges are surged. I do not have a surger. Can I just us a zig-zag or regular stitch?
ReplyDeleteHopping over from your feature at Sew Pretty Sew Free... LOVE this tutorial! Thank you! -Marci @ Stone Cottage Adventures
ReplyDeletesuch an easy tut, thanks :)
ReplyDeleteVery nice post thanks!
ReplyDeleteLove this tutorial too. Thank you for the great photos showing every step!
ReplyDeleteMy daughter hates elastic i think i might try without
ReplyDeleteQue lindo gracias por compartir!
ReplyDelete